How To Build An Epic Home Gym
There were many reasons my husband and I wanted a home gym. Lockdowns were a major factor: there’s only so much you can do with one 12kg kettlebell and a pair of 5kg dumbbells before getting bored. Having a baby was another. The 30 minutes it’d take travelling to and from the gym once restrictions lifted, on top of the one-hour workout itself (and a 40-plus-hour work week), just felt like a lot of extra time we didn’t have.
A home gym seemed like the perfect solution to our problem. And when we moved to a new place a year ago, with a storage area as big as our combined lounge and dining, we also found the perfect space to make it happen.
Except it didn’t happen for a while. Instead, the garage turned into what many garages become: a dumping ground for old furniture and all the stuff that we didn’t know what to do with. It was getting out of hand and we’d only been there less than a year. Before it got any worse, we decided it was time to make our home gym happen. And if we were going to do it, we were going to make it epic.

Step 1: The cull & clean
While my husband, Brad, emptied the space and attacked the years’ worth of unidentifiable grime that had attached itself to the garage floor and walls, I started the cull. I’ve watched enough decluttering shows to know the “keep, donate or throw away” technique works with an added “sell on Facebook Marketplace” category. We gave away our old entertainment unit, baby toys, pram and baby clothes; threw away loads of stuff; sold some stuff. Less than half of our belongings survived. Marie Kondo would be proud.
Brad continued the garage glow-up by painting. He first primed the walls and then painted them black. He also did the floors with a garage floor paint. The area looked transformed already.

Step 2: Create a Plan
Before we did anything else, we needed a solid plan. One that involved storage for the survivors of the cull, plus the right equipment for our training needs. Storage-wise, we kept in mind this advice from David Harcourt, Product Category Manager for RapidStorage: “Based on the items you decide to keep, choose the right storage solution for you. You might need a large cabinet for suitcases, storage tubs and larger tools, a multi-drawer cabinet for your hand tools or smaller gym items, or a small cabinet for your gym shoes and carry bags. For gym storage, calculate the weight capacity required to hold all of your weight plates, check the size of the weight plate holes to make sure your plates fit the 50mm Olympic weight rack pegs, and check if you have other items like yoga and gym mats, dumbbells and kettlebells, gloves, weight belts, balls and ropes, so you can pick the right racks to store all your gym equipment.”
When planning the gym space, Brad took the lead. We share similar training approaches, plus he’s also a former PT and strength and conditioning coach, so he had a pretty good idea of what would work best for us. “It was important to get the right equipment for the training we do, the space and for future-proofing – it’s no use putting in all the effort to build a gym and it’s not doing the job for us in six months,” he says. Remember, we didn’t just want a home gym, we were going for something epic.
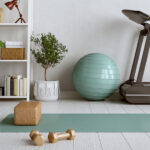
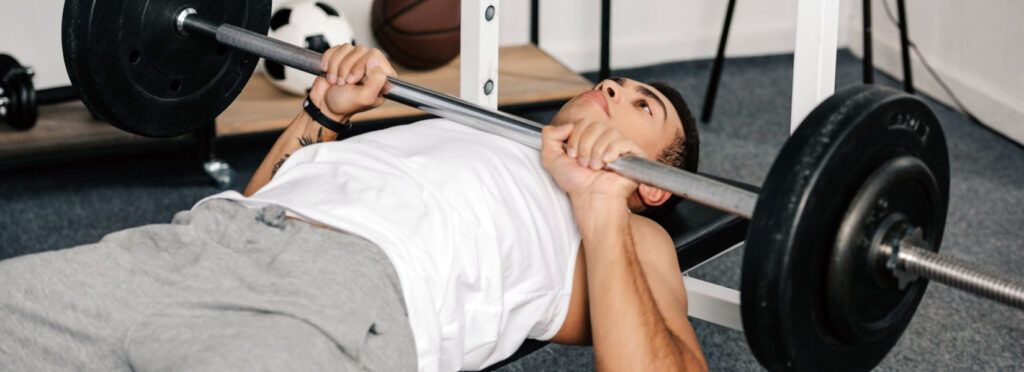
“We wanted a squat rack and enough plates for a strength block; an air bike and battle rope for conditioning; a pulley system, which is awesome for accessory work; and kettlebells and dumbbells, which are so versatile they can be used in almost any style of session; plus a boxing bag.”

If you’re working with a small budget, consider these tips from Justin Riley, founder of Vulcan Fitness, an online retailer of quality and affordable home and commercial gym equipment. “Go for equipment that has the most versatility: a barbell with weights and a squat rack is my recommendation for the first pieces of equipment you should buy. While you can find some quality budget equipment, we suggest avoiding the cheapest items on the market. This is especially true for equipment that you’ll use the most or is important for safety. The last thing you want is your bench breaking while going for your PB bench press.”
Justin adds: “Another key consideration is space. Check the clearance in the room you are setting up your home gym. There’s nothing worse than ordering a piece of equipment and then finding out it won’t fit when you are putting it all together.”

Step 3: Lay the Foundations
The next task was laying down the flooring. We went with 15mm flooring at Vulcan instead of a cheaper 10mm version. Justin explains: “This [thickness] will provide enough shock absorption to protect your floor from dropping weights and general punishment. Our 15mm thick, 1m x 1m tiles weigh 12kg, so they won’t shift while you work out.”
To ensure that the floor definitely wouldn’t shift, Brad laid out the rubber tiles in a brick pattern. “Offsetting the join of a row to the centre of a tile creates support throughout the whole floor – the same way as it does for a brick wall. Separately I bought some cheap landscape timber, sprayed it black to match the aesthetic and used some liquid nails to fix it to the floor to create an edge, so the floor had something to butt up against, further reducing the likelihood of movement,” Brad explains.

Step 4: Build and Adjust Plans
Building the equipment was surprisingly way easier than anything we’ve built from Ikea. It also helped that Brad had invested in some power tools to help make the job less manual. We built the dumbbell and kettlebell shelves first, then the air bike. Once we built the power cage we realised that it took up more space than we had allocated, as we didn’t account for the space needed for the plates for the pulley system. We tested out different variations of the setup – which was a workout in itself moving all the equipment around. We finally found a layout we liked that still had enough free floor space where we could do conditioning or yoga sessions, but it meant we couldn’t fit a boxing bag. Luckily, we hadn’t purchased one yet.

Step 5: The Final Touches
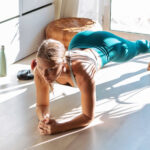
It took us a weekend to do the flooring, build the equipment and clean up the mess from all the packaging. We then bought a bunch of posters for an inspo wall, put things away in our new cabinets, and the gym was complete! We love it so much. It makes sticking to our training regimen so much easier. It’s my favourite room at home. Brad’s too.
Credit: www.womenshealth.com.au How to build an epic home gym by Lizza Gebilagin.
Stock your home gym with York Fitness – weight benches, barbells, bumper plates, dumbbells & more. Happy shopping 🙂